





In brief
NovaLCT is NovaStar's configuration software for setting up LED walls. It detects sending and receiving cards, loads module and cabinet parameters, defines the cabinet wiring as a screen layout and sets brightness, gamma and calibration. The configuration is then stored permanently on the receiving cards.
Overview
A finished picture in 4 steps
First the quick overview – expand the details for each step as needed.
| Step | Area | What happens |
|---|---|---|
| 1 | Graphics card | Set the display mode and resolution on the PC to 100 % scaling. |
| 2 | Sending card | Define the video source, resolution, and refresh rate. |
| 3 | Receiving card | Load the configuration file (RCFG) or “read back” the parameters. |
| 4 | Screen connection | Enter rows/columns, send to the hardware, verify. |
Basics
What is NovaLCT?
NovaLCT is Novastar’s free configuration software for LED displays. Use it to set up the control chain and manage brightness, power supply, fault diagnosis, and calibration.
- PC / graphics card generates the image.
- Sending card (e.g. in the controller) converts the video signal.
- Receiving card in the cabinet drives the LED modules.
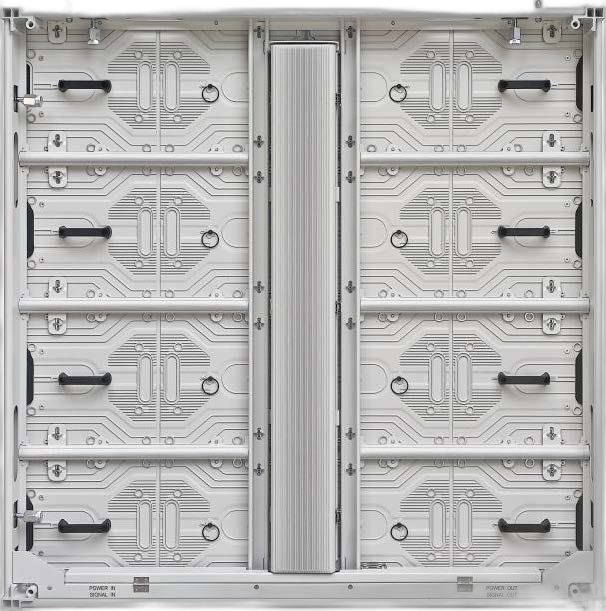
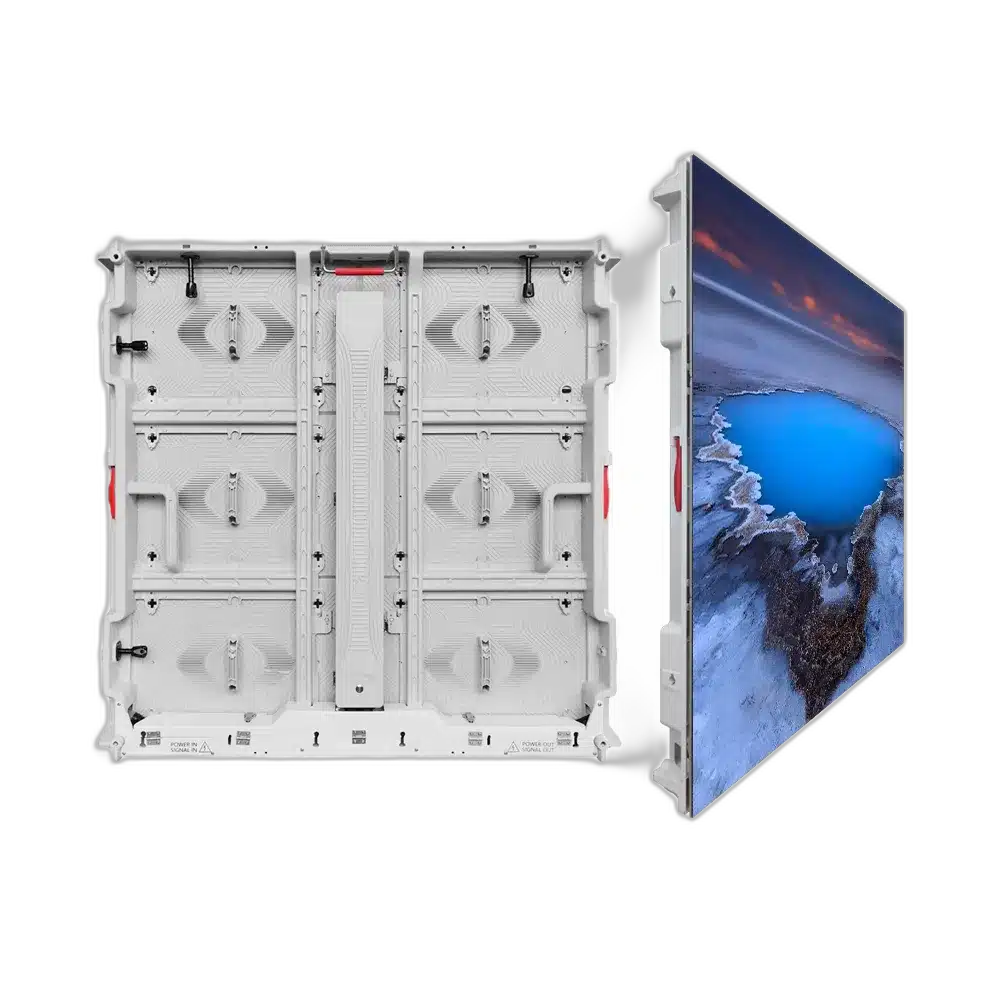
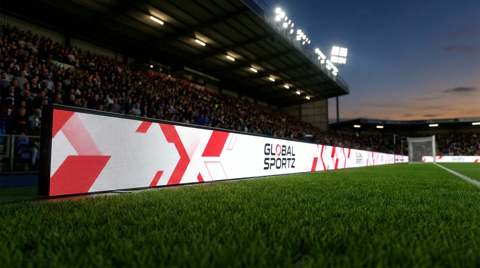
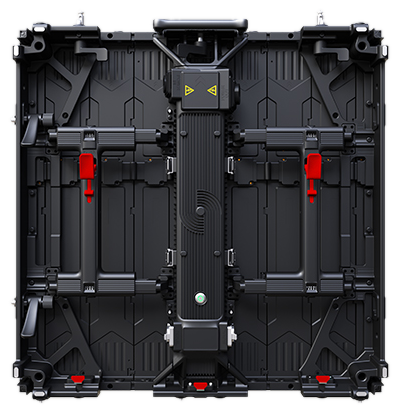
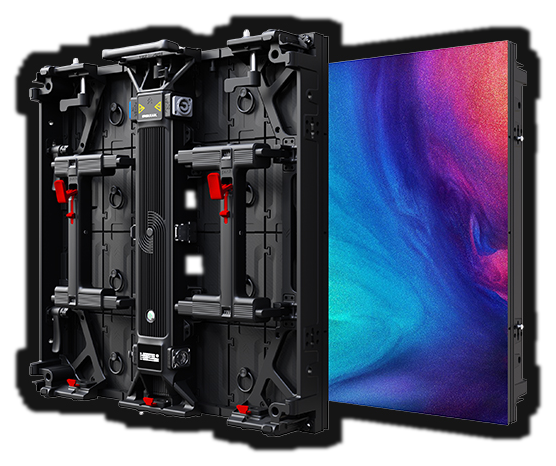
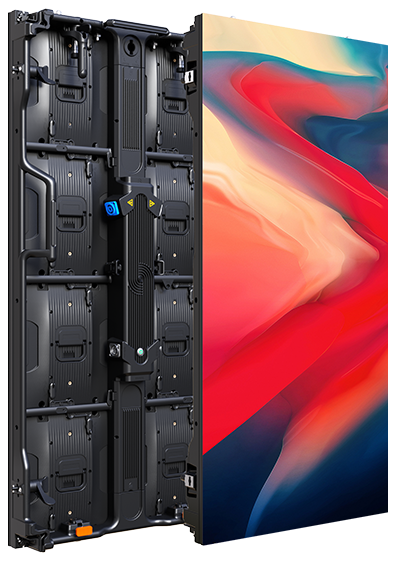
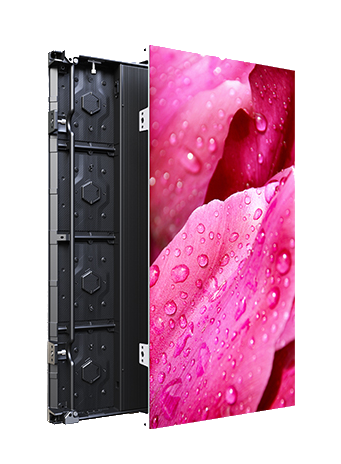
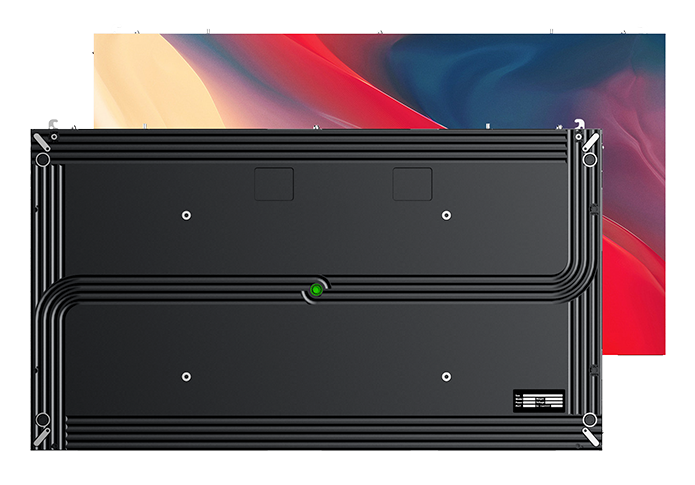
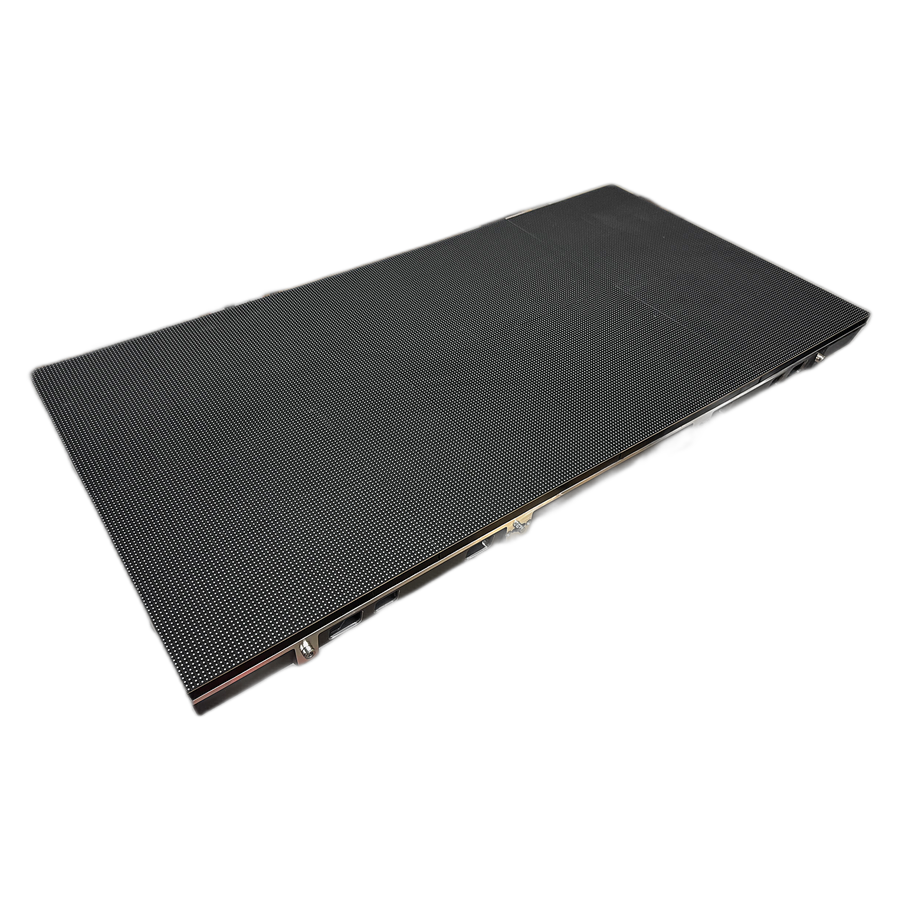
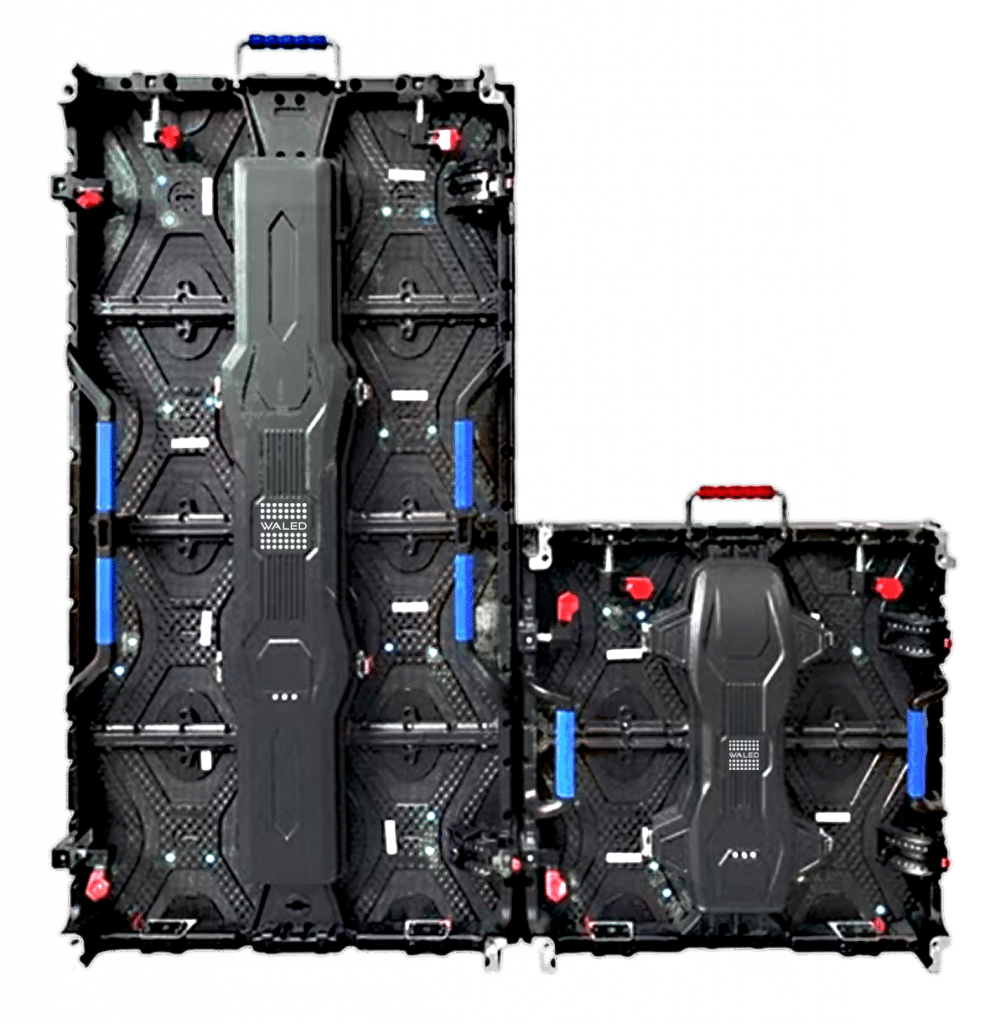
- Cabinet / panel = frame for LED modules with power supply and receiving card; several panels make up the LED screen.
In detail: Which devices does NovaLCT support?
NovaLCT works with most Novastar synchronous controllers (e.g. the MCTRL range, VX series as all-in-one) and with the receiving cards in the cabinets. For asynchronous media players of the Taurus series, use ViPlex Express instead; for fine calibration on site, use SmartLCT. NovaLCT runs on Windows only.
- PC with Windows 7 or newer
- NovaLCT installed (download below)
- Connection cable (USB or network) PC ↔ sending card/controller
- Briefly disable antivirus software during installation
Step 1
01Set up the graphics card
So the wall displays pixel-perfectly and without distortion.
- Right-click desktop → Display settings
- Scaling at 100 % (no stretching)
- Use Duplicate mode for initial setup, Extend later
In detail: Duplicate vs. Extend & multiple displays
Duplicate mirrors your desktop 1:1 onto the wall – ideal for checking whether an image arrives at all. Extend turns the wall into a separate area next to your monitor; use this in day-to-day operation so the mouse pointer and windows do not appear on the wall.
With multiple graphics outputs, make sure the output to which the sending card/controller is connected is active and delivers the correct resolution. Scaling > 100 % (e.g. 125 %) makes the image blurry – always set it to 100 %.
Step 2
02Configure the sending card
The sending card passes the image from the PC to the wall.
- NovaLCT → User → Advanced Synchronous System User Login (password admin)
- Open Screen Configuration
- Video source (HDMI/DVI), resolution, and frame rate = graphics card
- Set → Refresh → Save
In detail: Login modes & custom resolution
The User menu offers three options: Advanced Synchronous System (normal live control – this is what you use), Demonstration Mode (trying things out without hardware), and Media Player (asynchronous). Password: admin (alternatively 666).
If the frame rate does not match, tearing/flickering may occur. For unusual wall resolutions, you can create a custom resolution in the graphics driver and then adopt it exactly in the sending card. Use Refresh to verify that the sending card and graphics card resolutions are identical.
Step 3
03Configure the receiving card
The receiving card “knows” how a cabinet is constructed.
- Load from file → open the RCFG file for your wall
- Send to receiving card → to all cards at initial commissioning
- Save (store on the receiving card)
- No RCFG file? → Read back
In detail: Load RCFG, send to cards & store permanently
The window is divided into module information, cabinet information, and performance settings. The cabinet information is the actual loading data of the receiving card. You do not need to set anything manually – your WALED wall comes with the matching .rcfg file.
After Load from file, distribute with Send to all receiving cards. The option Send to specified receiving card is only needed when replacing a single card or for troubleshooting. Important: finish with Save to receiving card – otherwise the parameters are lost in the event of a power failure.
In detail: Reading back parameters when no RCFG file is available
If the wall already shows an image – even a faulty one – parameters are stored on the receiving card. Read them out via Read Back and save them as an RCFG file. This file can later be loaded onto a new receiving card. Keep the file in a safe place – lost it? WALED can help (state your product/order number).
Step 4
04Connect the screen
Only the connection arranges the cabinets into the overall image.
- Screen number (usually 1) → Configure
- Enter the number of cabinets as columns × rows
- Select the sending card number and receiving card size
- Trace the cabling → Send to hardware → Save
In detail: Tracing the cabling logic correctly
The order in the connection window must exactly match the physical cabling of the cabinets (e.g. S-shaped: first row left→right, second row right→left). You can click each receiving card manually or use Quick Connection with the matching pattern. Then Send to HW – the data is stored on the sending card.
Use Save to file to back up the connection externally; when extending the wall or replacing the sending card, simply Load from file instead of redrawing everything.
In detail: Verifying the connection with mapping & communication status
Enable Mapping: each cabinet displays its position and sequence. “P” stands for the output port, the diamond with a number for the order of the cards – ideal for quickly tracing the cabling (not supported by all card series).
Detect communication status: displays all receiving cards – green = connection OK, red = problem. A red card interrupts the entire chain; check the network cable at that position.
Fine-tuning
Brightness & further settings
Optional, but useful in everyday operation.
In detail: Brightness, gamma & redundancy
- Brightness: set globally in %; if required, time-controlled (brighter by day, darker at night) or via light sensor.
- Gamma/colour temperature: for a pleasant, uniform image – default values usually fit.
- Cable redundancy: for critical installations, a backup data path that takes over in the event of a cable failure.
- Calibration: for uniform brightness/colour across all cabinets – conveniently done with SmartLCT.
Software
Download NovaLCT
Always download directly from the manufacturer Novastar and install the complete package including all additional drivers.
Latest stable version for Windows 7 and newer. V5.8.1 is the previous version.
Go to Novastar downloadsFrequently asked questions
FAQ
What is the default password for NovaLCT?
In the advanced synchronous system: admin (alternatively 666).
NovaLCT does not detect my sending card – what should I do?
- Sending card switched on, USB/network cable connected?
- Briefly disable antivirus software.
- Reinstall NovaLCT and include all additional drivers.
- Try a different USB port/cable.
- Check the Device Manager for driver errors.
Difference between NovaLCT and SmartLCT?
NovaLCT: complete setup (sending/receiving card, screen connection), Windows. SmartLCT: calibration/fine-tuning, also macOS. For initial setup, use NovaLCT.
I do not have an RCFG file – what now?
Use the Read Back function (step 3). As long as the wall shows an image, the parameters can be read out and saved.
Some cabinets show the correct image, others do not?
- Compare columns/rows in the connection window with the actual physical layout.
- Check positions with Enable Mapping.
- Check with Detect communication status – a red card interrupts the chain.
Frequently asked questions – NovaLCT – Set up your LED wall
What do I need NovaLCT for?
NovaLCT is needed for the fundamental setup of an LED wall: detecting sending and receiving cards, loading module parameters, defining the screen layout according to the actual cabinet wiring, and setting brightness, gamma and calibration.
Must the NovaLCT configuration be repeated after every restart?
No. The configuration is stored permanently on the cabinets' receiving cards. Once saved, the setting persists without a connected computer. NovaLCT is only needed again for changes, extensions or troubleshooting.
What if NovaLCT does not detect the LED wall?
First check the physical connection to the sending card, then the power supply to all cabinets, and finally the data cabling between the receiving cards. Only when power and data reach every cabinet can the software detect the complete chain.
Who sets up a WALED LED wall with NovaLCT?
For fixed WALED installations this is handled during commissioning by the WALED technical team, on site anywhere in Germany. Operators who wish to configure the system themselves will find the step-by-step guide on this page; WALED technical support is available for questions.
Consulting and planning by WALED
WALED VIDEOWALLS GmbH, based in Duisburg, develops, supplies and installs LED video walls for fixed installation and rental – indoor and outdoor, throughout Germany. As a manufacturer for fixed installation and rental with 25 years of experience we plan your system from requirements analysis and 3D planning through to commissioning and maintenance. Reach us on +49 (0) 172 2844494 or via the contact form. Find the right configuration in minutes with the LED wall configurator.